Ch341a Flash Erasing Error Solution – The Chi are Not Null Error
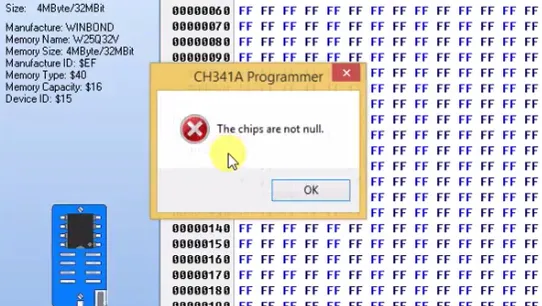
Hello, viewers today in this Post I’m going to Share With You one of the common problems of flash ic not erasing during, programming through ch341a programmer. You might see often when we want to erase especially new flash ic through our ch341a programmer, it giving the erasing error, ” the chips are not null ” and our flash Ic not erasing completely. It giving the erasing success Message but when we verify the blank, it says the chips are not null. So we’ll learn about this problem, and then we’ll find out the solution too, so let’s start.
Flash IC not erasing reasons.
When we got the chips are not null error on our ch341a programmer, it could be 2 reasons. the first is the flash IC is damaged, and the second is the protection. So we’ll discuss the second one. Nowadays there’s lots of Satellite Receiver manufacturer in the market, and they offer different facilities on the same processor to their customers. Therefore they providing multiple and different functions to their customers through Software.

So no one will want that their Software shall be used for another satellite Receiver company boxes. That’s why they trying to protect the software. When we install the protected Software or the protected software was already installed in the flash ic and we want to erase or verification of blank, it’ll give us the error. So now we’ll learn how we can erase that flash ic through our ch341a programmer.
Step -1.
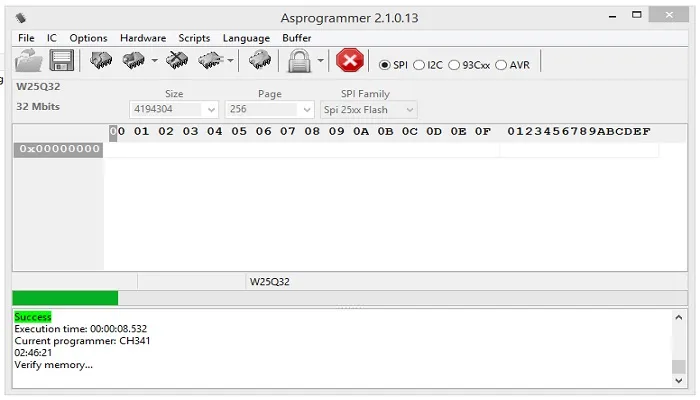
First of all Download the following Software V 2.1.0.13 of ch341a programmer, which Download link I’m giving below. Download the software, unzip the software and open it.
Step- 2.
Now insert the required flash ic which was not erasing before, in your ch341a programmer, and Attach the Programmer to your PC or laptop. Now click on detect Option as same as you are doing before. When the flash IC detected, now move to another Step.
Step- 3.
Now we need to do a bit of setting in that Software once. Click on the down arrow 🔻 icon right side of the lock icon🔒. now click on the Edit SREG option, You will see another pop-up window, now do uncheck the Status register #2 locked and Status register #3 Locked options, and close this pop-up window.


Step- 4.
Now just do a single click on that lock icon, for unprotecting of the already installed Software in the flash ic. When you click on that lock icon, the software protection will remove for read and write and for other functions.

So it was a very simple trick, now you can erase your flash IC, you can check the verification of blank, you can read and write any software to your flash IC without any problem. Hope you will understand the problem and the solution.

Note:
- File Version V2.1.0.13
- Downloads 65
- File Size 1.5 MB
- Files Count 1
- Updated On 15-11-2023
- Report this File
[better-ads type=”banner” banner=”9967″ campaign=”none” count=”2″ columns=”1″ orderby=”rand” order=”ASC” align=”center” show-caption=”1″ lazy-load=””][/better-ads]
for more details, you can watch the video below.


 Sat Receiver